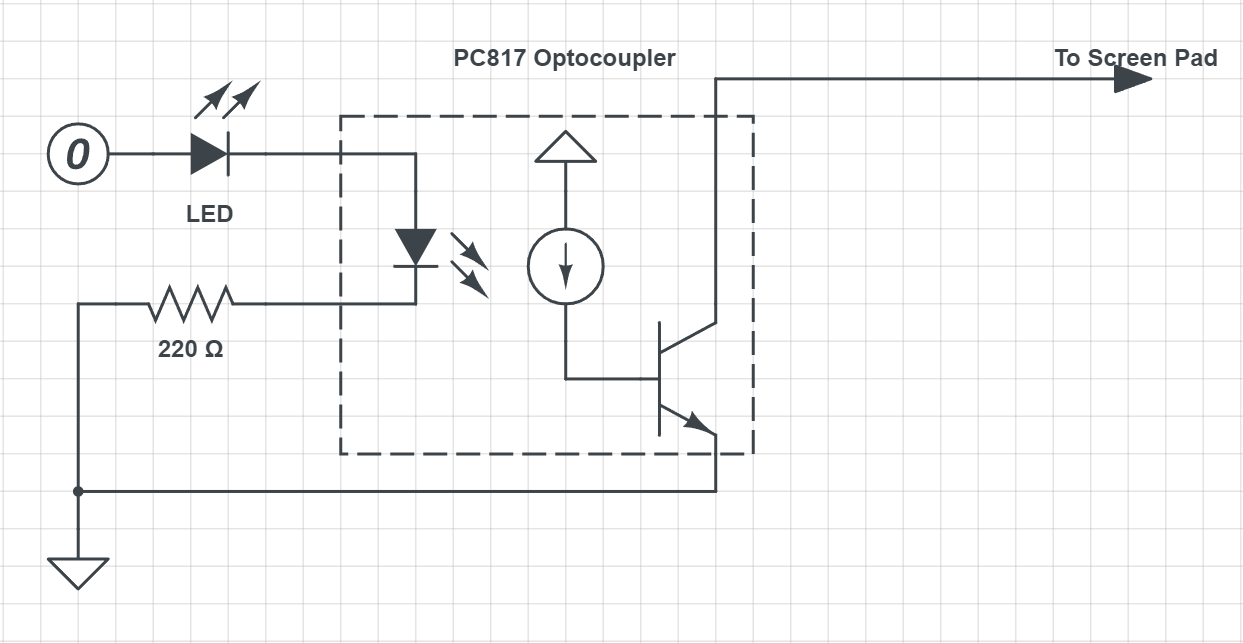
猫之城物理钓鱼挂(二):图像采集以及画面分类
上一篇中,我们实现了屏幕触控的物理输出,但是钓鱼这个小游戏还是需要根据画面反馈来做动作的。我一开始的想法是用一个摄像头拍摄平板的画面然后进行图像处理。尝试了一会发现,就摄像头这 720P 的分辨率,光是梯形校正准确率都不高,可能做个图像分类还行,但是要分辨画面中的信息对我来说还是有些困难。然后睡前一阵查找,发现了软件实现的 AirPlay。
图像采集
AirPlay 是 Apple 的屏幕镜像和投影协议,这个协议已经被逆向并且有软件实现了,例如 LetsView, AirServer。通过 AirPlay + 接收软件,我们可以将 iPad 画面镜像投影到电脑上,分辨率更高,而且没有色差,处理起来就更简单了。如果是安卓的平板,也可以通过 Chromecast 或者 Miracast 协议投影,原理是一样的。
当图像投影到 PC 上之后,就可以通过截取 PC 屏幕窗口的的方式获取到平板画面内容。第一种方案是使用 MSS,一个跨平台的 Python 截图包,它能以大约 20 FPS 的速度捕获图片。使用也很简单,首先需要获取投影软件的窗口位置和大小,然后按帧截图发送给 OpenCV 处理。实现的代码在这里:screen_capture.py。由于 MSS 并没有提供获取窗口大小的方法,它的区域捕获仅仅依靠的是屏幕坐标。所以获取窗口还是需要我们自己实现的,而这部分不是跨平台的,也没办法获知窗口移动。再加上 MSS 仅仅是截图,当窗口在后台时就失效了,使用起来并不方便。
而更好的方法是通过 OBS + 虚拟摄像头 + OpenCV,对的,就是平时游戏主播使用的直播软件。简单来说就是使用 OBS 捕获投影软件窗口,再通过虚拟摄像头输出给 OpenCV。OBS 软件本身是跨平台的(但是在不同平台可能会有些不同),FPS 要多少有多少,而且窗口可以被遮挡(窗口不能最小化到后台,但是可以放在另一个 Virtual Desktop),窗口移动什么的也完全没有问题,专业的确实就是专业。OBS 设置部分很简单,只要增加一个 Source,然后再根据需要调整输出分辨率就好了。Python 部分的源代码在:obs_capture.py。
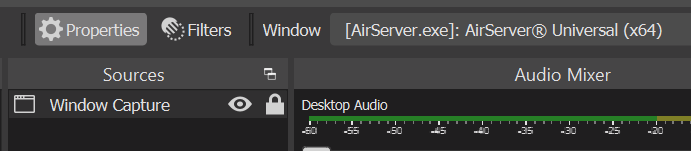
Note:虽然最新的 OBS 自带了 Virtual Cam,但是似乎在 Windows 上和 OpenCV 有兼容性问题,捕获的画面是黑的,依旧需要使用插件解决。
画面分类
现在采集到了平板上的游戏画面,下一步就是给画面进行分类,来获得游戏所处的界面。这么做主要有这些原因:
- 很多游戏操作是有网络交互的,当点击按钮之后,会有不定长的延迟进入下一个界面,在下一步操作前进行画面分类识别能更鲁棒。
- 在有的界面中,存在需要进一步识别的交互内容,例如钓鱼小游戏的浮标。先识别界面类型,能更有效和准确地决定是否需要进行这些信息提取。
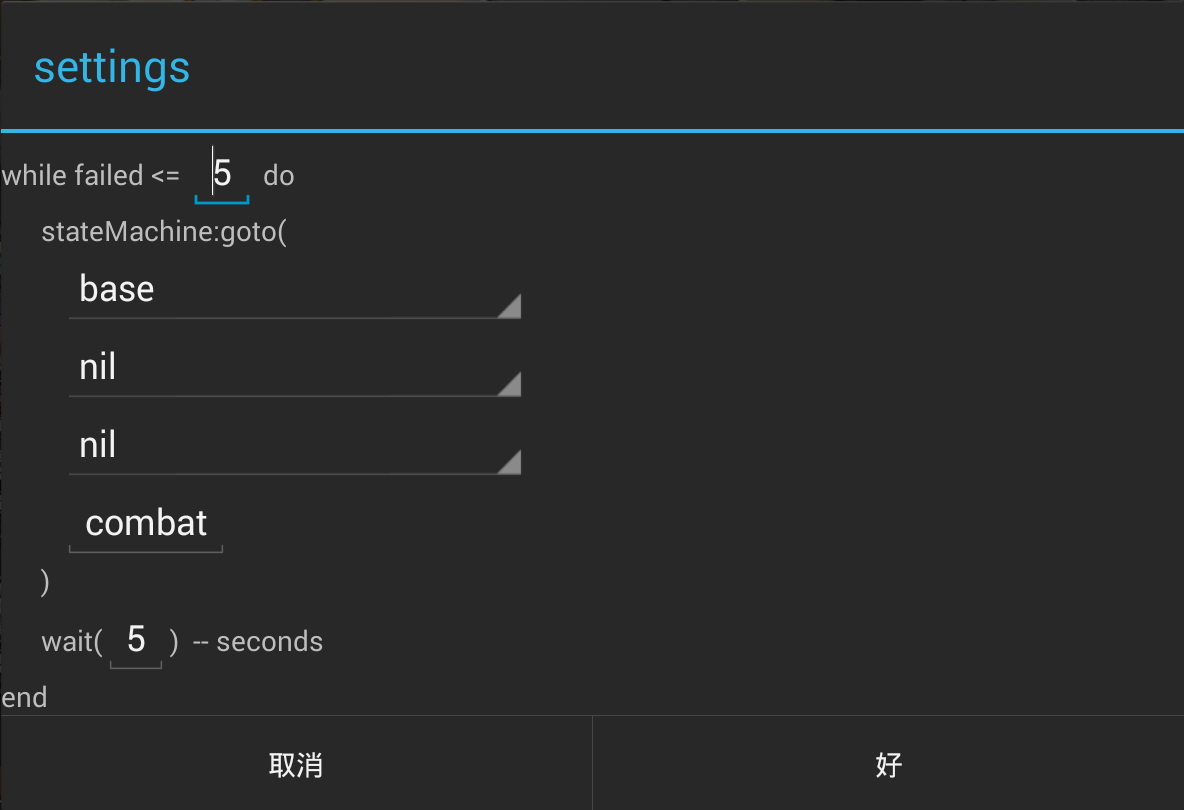
- 获取当前状态可以使 bot 更灵活,脚本可以从任意状态启动。这一部分会再 第四篇 blog 中讲到。
在这个项目中,我直接抄了 tensorflow 的 Image Classification Tutorial。对于这种标准的 UI 界面,随便什么模型效果应该都不差:classifier_training.ipynb。
做图片分类的第一步是采集训练样本,你会注意到 screen_capture.py 和 obs_capture.py 的 __main__ 部分都有 cv.imwrite 以及对应的按键绑定的代码。我首先会在开启图像采集的过程中,游玩游戏,手动进行需要自动化的整个流程,手动或者每 1 秒地频率采集一些原始图像。然后对应每一个分类新建一个文件夹,例如在《猫之城》中,我有 fish_idle, fish_ring, fish_drag, fish_reward 和 not_supported 这样一些分类。然后将采集到的图片拖到对应分类的文件夹中,我对于分类和图片的选取是这样的:
- 分类之间的图像需要有较大的不同。例如,点击之后显示的确认对话框就没必要单独建立一个分类。
- 每个分类选取至少 10-20 张 不同 的图片,尽量涵盖这个类别可能出现的所有变种,例如《猫之城》中 fish_idle 会出现不同的场景导致背景不一样。
- 单个类别不应该有远多于别的类别的样本,最多和最少之间不超过 10 倍这样。
- not_supported 可以用来放一些脚本用不到的 UI 截图来增加类别之间的差异性,以及在进入没有分类的页面的时候不会错误激活脚本。
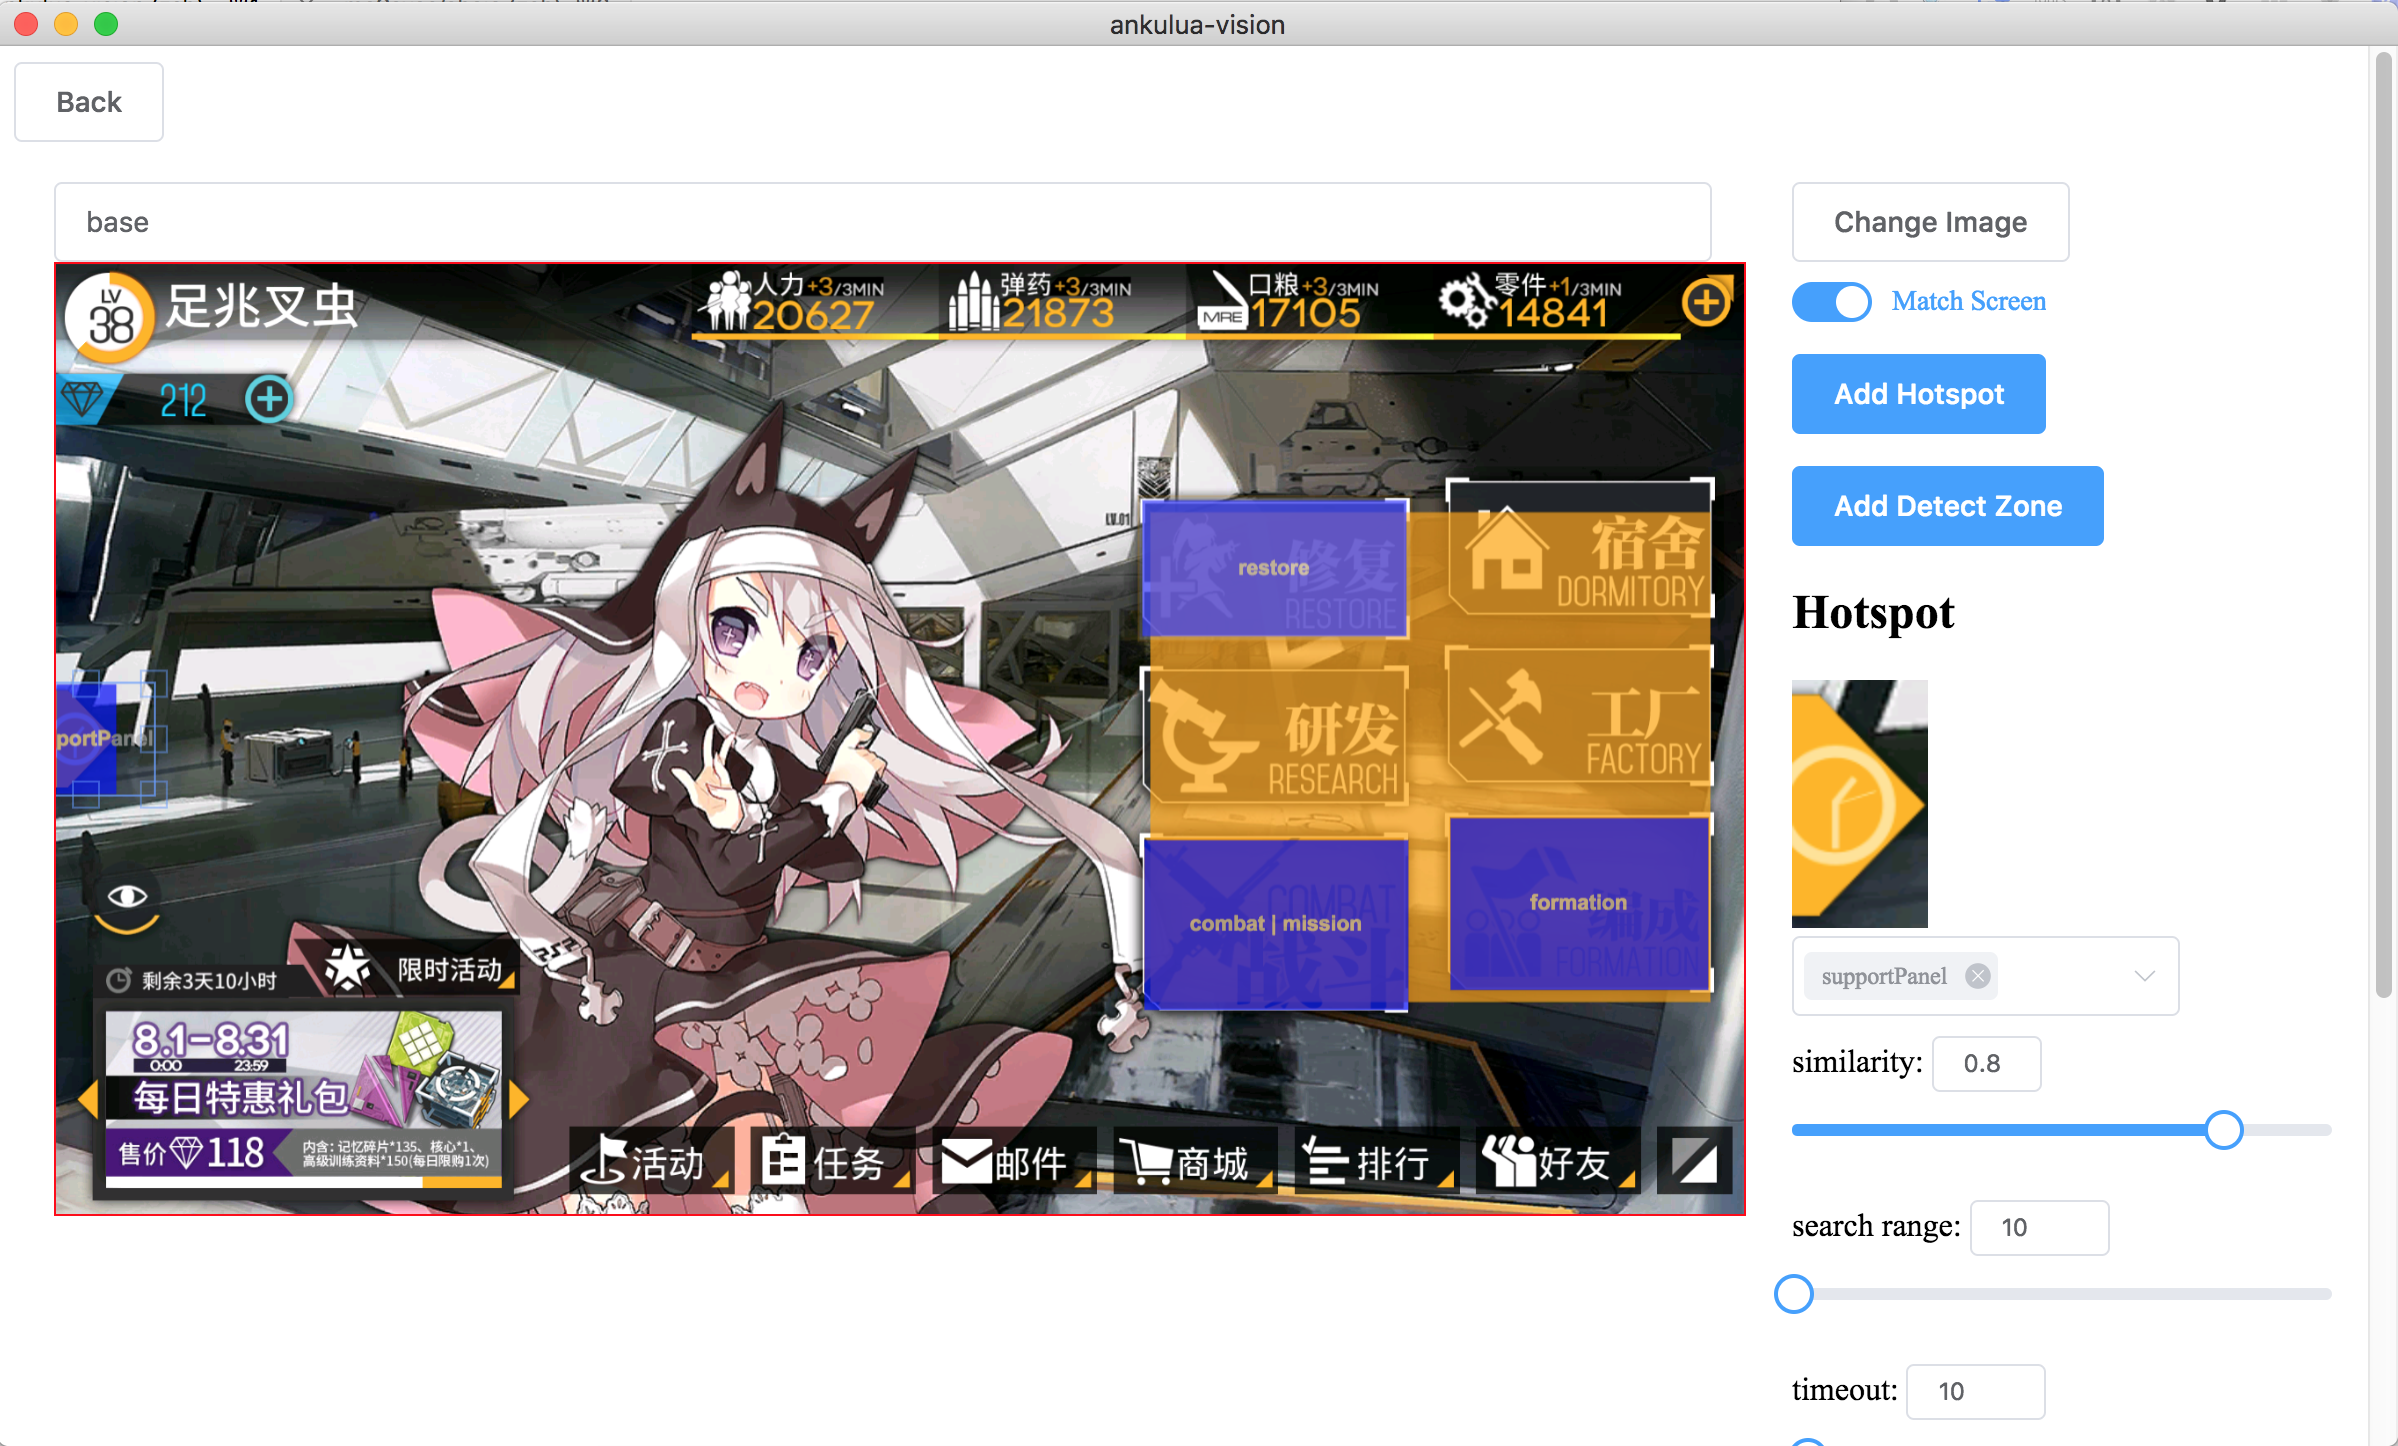
然后就是套代码了,图片分类并不需要很高的图片分辨率,这里我随便选了一个 220x300 来保持图片宽高比,套示例模型就能达到 99% 的准确度了。因为是 UI 界面,也不存在裁切变换,之后实际测试结果也非常好。最后将分类列表和模型保存下来就可以啦。为了保存单个文件,并且减少体积,使用的是 TensorFlow Lite 模型,predict 的代码在 classifier.py。唯一需要注意的是使用的时候需要自己 resize 到 220x300,并且 OpenCV 图片的颜色是 BGR 而 tensorflow 是 RGB 的,需要要进行转换。其他就没什么了,总共有效代码也就 15 行,踩着巨人的肩膀,使用成熟的库之后还是挺简单的。
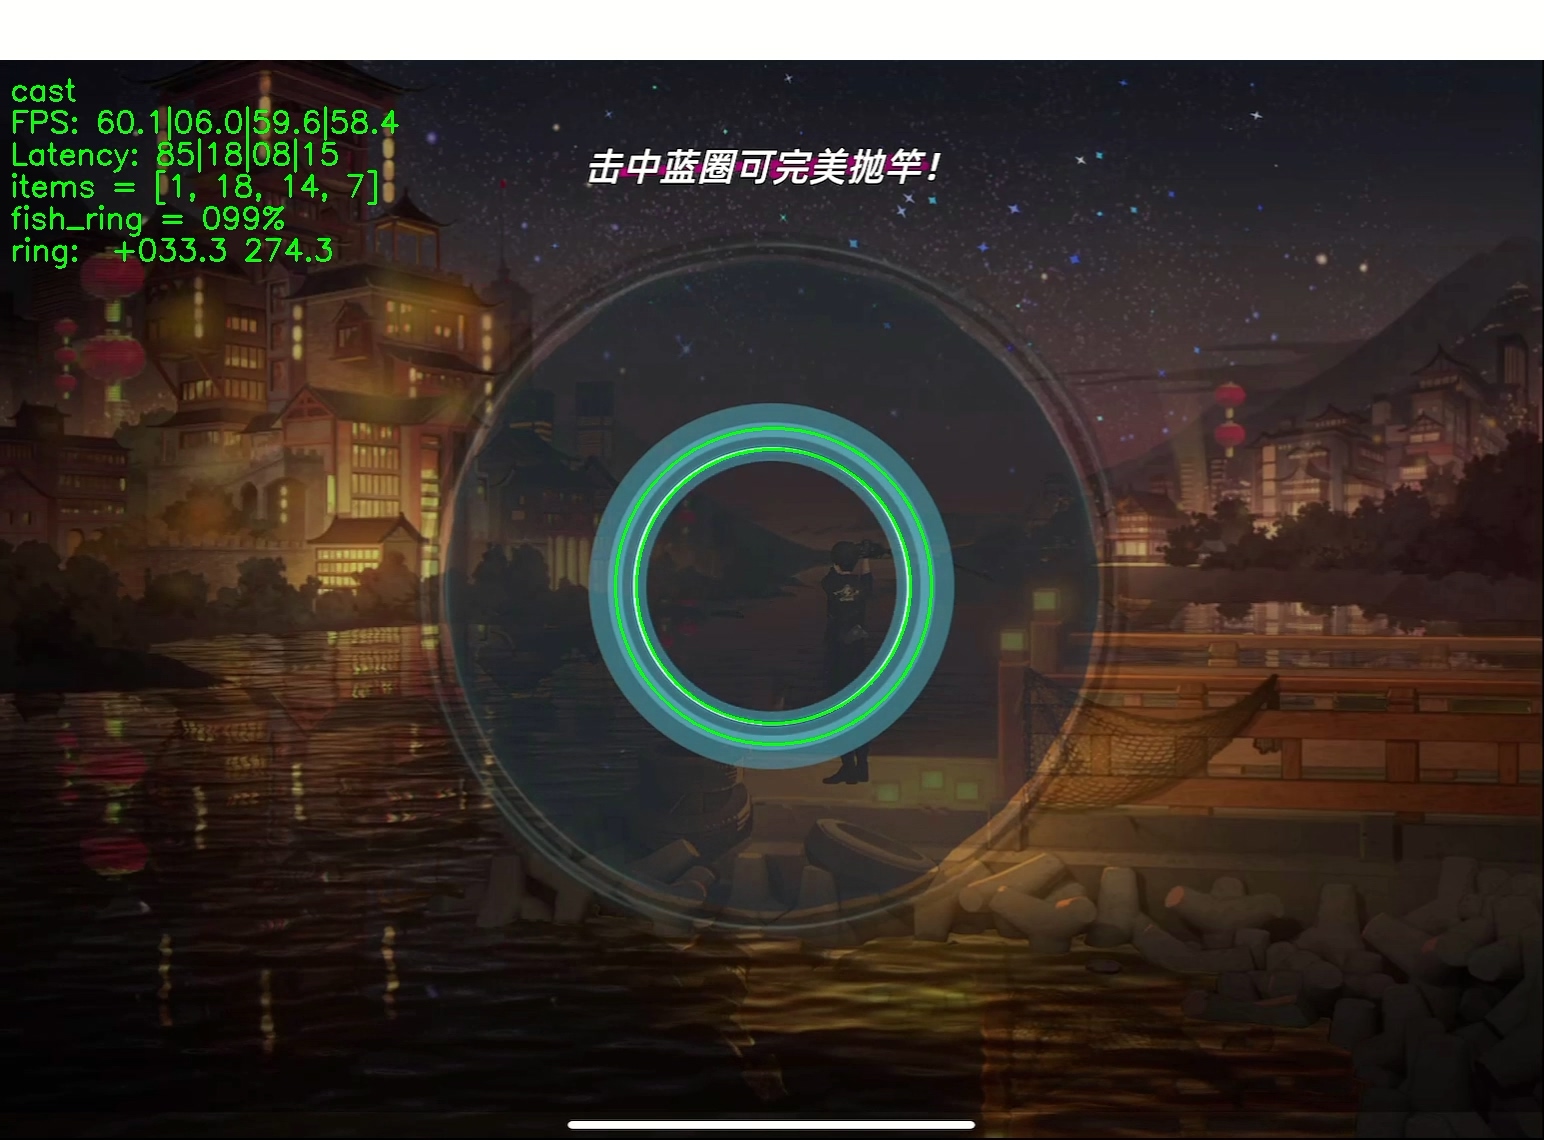
Note: 图片中的 fish_ring = 099% 就是图片分类的结果和 score,而其他的图片识别内容和辅助线就在下一篇 blog 中讲解啦。